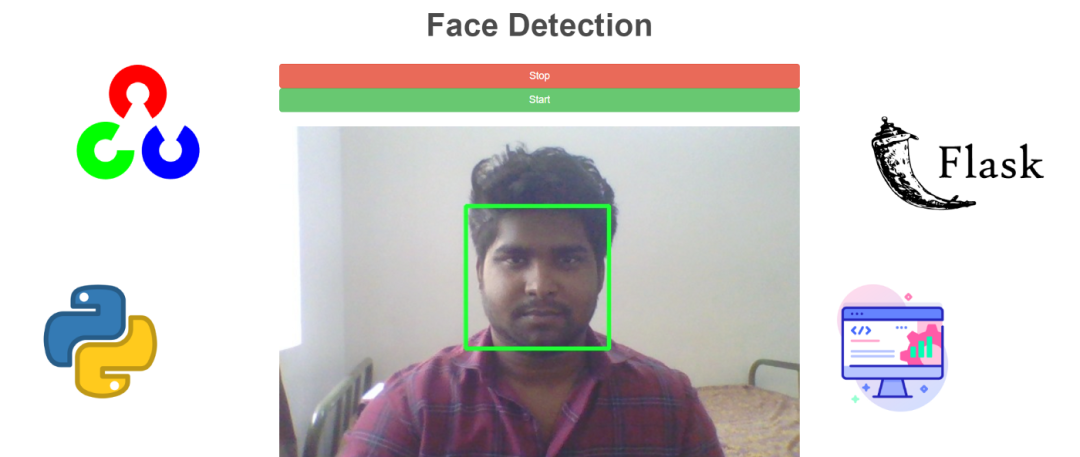
介绍
本文,我们将介绍使用 Flask API 部署进行人脸检测。OpenCV 是一个 Python 库,旨在解决计算机视觉问题。它用于各种应用,例如人脸检测、视频捕获、跟踪移动对象和对象披露。
Flask API
Flask 是一个广泛使用的微型 Web 框架,用于在 Python 中创建 API。它是一个简单而强大的 Web 框架,旨在快速轻松地启动,并能够扩展到复杂的应用程序。
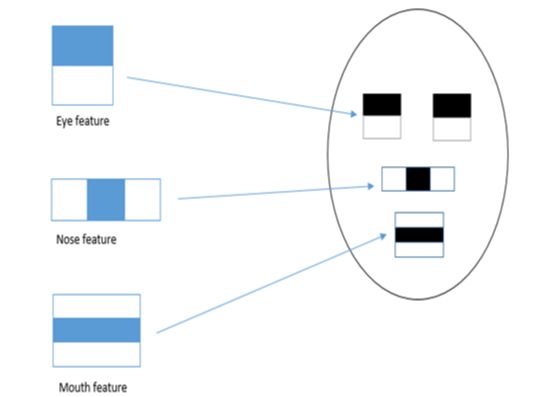
什么是 Haarcascade
它是一种对象检测算法,用于识别图像或实时视频中的人脸。该算法使用边缘或线检测特征。
现在让我们进入项目实现。
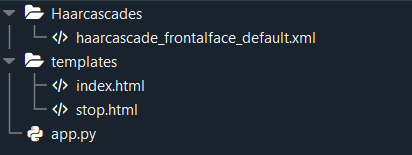
项目结构
index.html
<!DOCTYPE html>
<html>
<link rel="stylesheet" href="https://maxcdn.bootstrapcdn.com/bootstrap/3.4.1/css/bootstrap.min.css">
<title>Dharmaraj - Face Detection</title>
<style>
h2
{
padding-bottom:20px;
font-weight: 600;
font-size: 3.2em
}
</style>
<body>
<div class="container"><center><h2>Face Detection</h2></center>
<div class="col-lg-offset-2 col-lg-8">
<center><form class="form-inline" action = "/stop" method = "post" enctype="multipart/form-data">
<input type = "submit" class="btn btn-danger btn-md btn-block" value="Stop">
</form></center>
<center><form class="form-inline" action = "/start" method = "post" enctype="multipart/form-data">
<input type = "submit" class="btn btn-success btn-md btn-block" value="Start">
</form></center><br></div>
<div class="col-lg-offset-2 col-lg-8">
<img src="{{ url_for('video_capture') }}" width="100%">
</div></div>
</body>
</html>
stop.html
<!DOCTYPE html>
<html>
<link rel="stylesheet" href="https://maxcdn.bootstrapcdn.com/bootstrap/3.4.1/css/bootstrap.min.css">
<title>Dharmaraj - Face Detection</title>
<style>
h2
{
padding-bottom:20px;
font-weight: 600;
font-size: 3.2em
}
</style>
<body>
<div class="container">
<center><h2>Face Detection</h2></center>
<div class="col-lg-offset-2 col-lg-8">
<center><form class="form-inline" action = "/stop" method = "post" enctype="multipart/form-data">
<input type = "submit" class="btn btn-danger btn-md btn-block" value="Stop">
</form></center>
<center><form class="form-inline" action = "/start" method = "post" enctype="multipart/form-data">
<input type = "submit" class="btn btn-success btn-md btn-block" value="Start">
</form></center><br>
</div></div>
</body>
</html>
app.py
from flask import Flask, render_template, Response
import cv2
app=Flask(__name__)
def capture_by_frames():
global camera
camera = cv2.VideoCapture(0)
while True:
success, frame = camera.read() # read the camera frame
detector=cv2.CascadeClassifier('Haarcascades/haarcascade_frontalface_default.xml')
faces=detector.detectMultiScale(frame,1.2,6)
#Draw the rectangle around each face
for (x, y, w, h) in faces:
cv2.rectangle(frame, (x, y), (x+w, y+h), (0, 255, 0), 3)
ret, buffer = cv2.imencode('.jpg', frame)
frame = buffer.tobytes()
yield (b'--frame'
b'Content-Type: image/jpeg' + frame + b'')
@app.route('/')
def index():
return render_template('index.html')
@app.route('/start',methods=['POST'])
def start():
return render_template('index.html')
@app.route('/stop',methods=['POST'])
def stop():
if camera.isOpened():
camera.release()
return render_template('stop.html')
@app.route('/video_capture')
def video_capture():
return Response(capture_by_frames(), mimetype='multipart/x-mixed-replace; boundary=frame')
if __name__=='__main__':
app.run(debug=True,use_reloader=False, port=8000)
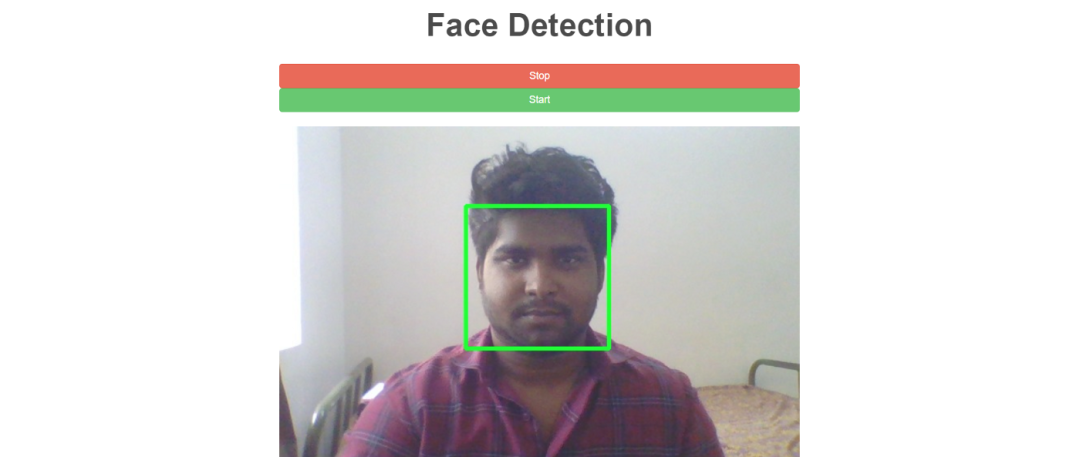
结果
运行此代码后,你将看到以下屏幕。

复制此 URL http://127.0.0.1:8000/ 并将其粘贴到浏览器中以获取结果。

原文标题 : Flask Web 框架中的 OpenCV 人脸检测部署